Raspberry Pi 4 vs. Odroid M1: Selecting the Optimal Hardware for Your Bitcoin Lightning Node Setup
Introduction
In the ever-expanding realm of cryptocurrencies, Bitcoin stands as the unrivaled leader, redefining our perception of money and transactions. However, as the Bitcoin network continues to grow, the issue of scalability has become a pressing concern. This is where the Lightning Network comes into play, offering a layer 2 scaling solution that facilitates faster and more cost-effective transactions. In this comprehensive guide, we will explore how you can actively contribute to the Bitcoin network by building your very own Bitcoin Lightning Node. We will focus on two affordable and compact hardware options: Raspberry Pi and Odroid M1. Additionally, we will delve into the significance of selecting the appropriate operating system, such as Umbrel OS or Ubuntu Mate, to ensure optimal performance.
Section 1: Understanding the Basics of Bitcoin and the Lightning Network
To embark on the journey of building a Bitcoin Lightning Node, it is crucial to grasp the fundamental concepts of Bitcoin and the Lightning Network. Bitcoin, often referred to as digital gold, is a decentralized digital currency that operates on a peer-to-peer network, allowing for secure and transparent transactions without the need for intermediaries like banks.
The backbone of Bitcoin is its blockchain, a distributed ledger that records all transactions. Miners validate and secure transactions by solving complex mathematical problems. The Lightning Network, on the other hand, serves as a layer 2 scaling solution built on top of the Bitcoin blockchain. It facilitates off-chain transactions between users, resulting in significant reductions in fees and increased transaction speeds. By establishing payment channels, users can transact with one another without relying on the main Bitcoin network for every transaction, thereby greatly enhancing scalability and improving the overall user experience.
To gain a deeper understanding of Bitcoin, it is essential to explore its key features and benefits. Bitcoin ensures secure and transparent transactions through the use of cryptography and decentralized consensus. Transactions are recorded on the blockchain, which is maintained by a network of nodes distributed across the globe. Bitcoin’s limited supply and decentralized nature make it an attractive alternative to traditional fiat currencies.
Introduced in 2015, the Lightning Network addresses Bitcoin’s scalability limitations. By enabling off-chain transactions, the Lightning Network significantly reduces transaction fees and improves transaction speed. It achieves this by creating payment channels between users, allowing them to conduct multiple transactions without broadcasting each one to the main Bitcoin blockchain. The Lightning Network’s ability to handle microtransactions and its potential for further scalability make it a crucial component of the Bitcoin ecosystem.
Section 2: Choosing the Right Hardware for Your Bitcoin Lightning Node
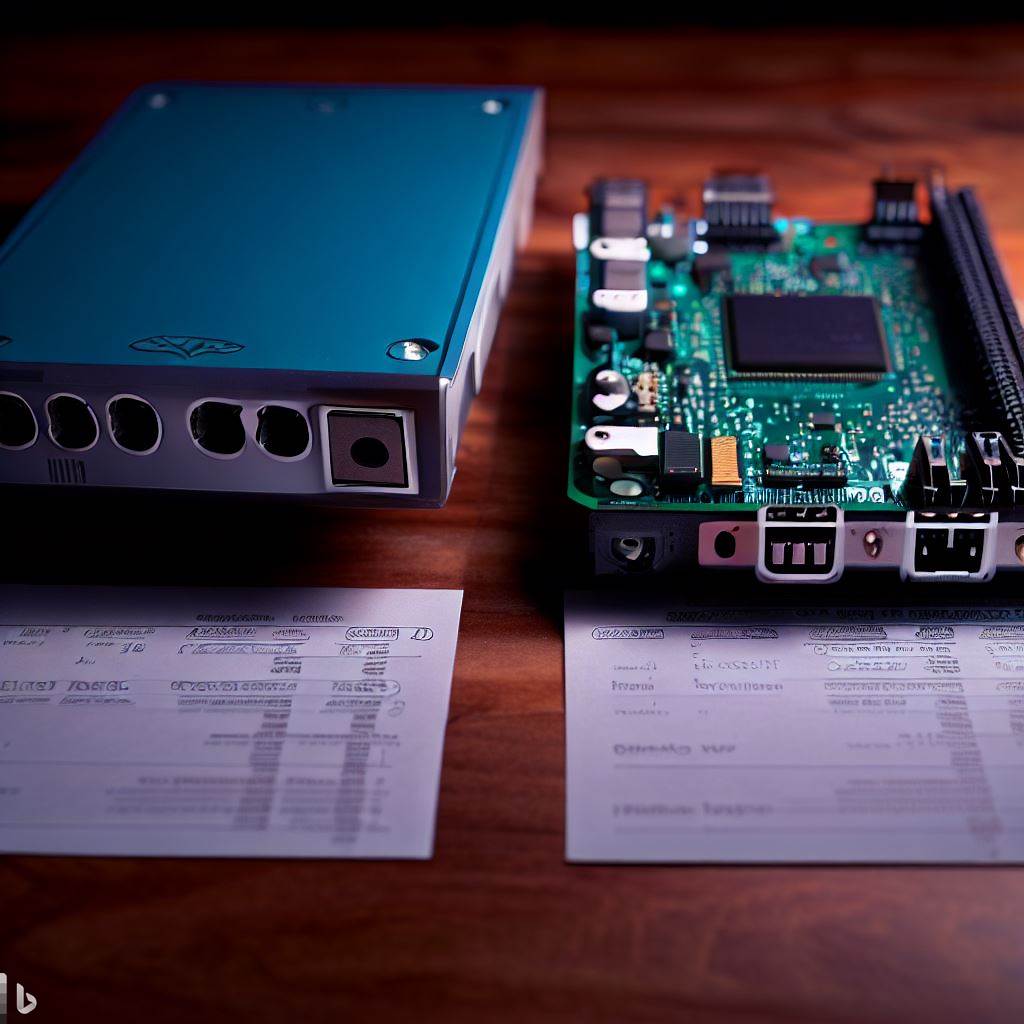
The selection of appropriate hardware is paramount when it comes to building a robust Bitcoin Lightning Node. Raspberry Pi 4 and Odroid M1 are two popular options that offer impressive features and capabilities. Raspberry Pi 4 is a small single-board computer known for its reliability, energy efficiency, and affordability. Odroid M1, on the other hand, provides a powerful computing platform with excellent performance.
When comparing Raspberry Pi 4 and Odroid M1, it’s important to consider factors such as specifications, compatibility with Bitcoin nodes, and overall performance. Raspberry Pi 4 features a quad-core ARM Cortex-A72 CPU, 2GB-8GB of RAM, multiple USB ports, and HDMI output. Odroid M1, on the other hand, boasts a quad-core ARM Cortex-A55 CPU, 4GB-8GB of RAM, USB 3.0 ports, and PCIe support. Both devices are capable of meeting the demands of running a Bitcoin Lightning Node, but it is crucial to assess your specific requirements and budget before making a decision.
In addition to the main hardware components, it’s essential to consider peripherals such as a case, power supply, cooling solutions, and storage options. Choosing a suitable case ensures proper protection and organization of the hardware components. A reliable power supply is necessary to provide stable and adequate power to the Bitcoin Lightning Node. Cooling solutions, such as heat sinks or fans, help dissipate heat and prevent overheating. Lastly, selecting the right storage option, such as an M.2 NVMe SSD, can significantly improve the node’s performance by enabling faster access times.
Section 3: Setting up the Operating System
To ensure optimal performance of your Bitcoin Lightning Node, selecting the right operating system is of utmost importance. Umbrel OS and Ubuntu Mate are two popular choices in this regard. Umbrel OS, a user-friendly operating system specifically designed for Bitcoin and Lightning nodes, offers a seamless experience with easy-to-use interfaces and pre-installed applications. Ubuntu Mate, known for its stability and extensive community support, provides an excellent alternative for setting up your node.
Before proceeding with the installation of the operating system, you will need to prepare the microSD card with the required image. This can be done using tools like BalenaEtcher or Raspberry Pi Imager, which simplify the process. Once the microSD card is ready, insert it into the corresponding slot on your Raspberry Pi or Odroid board.
Installing Umbrel OS on Raspberry Pi or Odroid M1 is straightforward and can be accomplished by following step-by-step instructions and detailed guides provided by the Umbrel team. Simply download the Umbrel OS image, flash it to the microSD card, and insert the card into the board. Connect the necessary peripherals, such as a monitor, keyboard, and mouse, and power on the device. Umbrel OS will guide you through the initial setup process, including network configuration and wallet creation.
Alternatively, if you prefer using Linux Mint or Linux Ubuntu, comprehensive resources are available to assist you in setting up your Bitcoin node with these operating systems. The installation process for Linux-based operating systems involves downloading the appropriate image, flashing it to the microSD card, and configuring the system for Bitcoin and Lightning node operations.
Section 4: Assembling the Hardware Components
While Raspberry Pi and Odroid M1 form the foundation of your Bitcoin Lightning Node, proper assembly of the hardware components is essential. Storage plays a critical role, and it is recommended to utilize an M.2 NVMe SSD enclosure to ensure faster access times. This enables efficient retrieval of data, ultimately enhancing the overall performance of your node.
To assemble the hardware components, you will need the Raspberry Pi or Odroid board, the recommended storage solution, a power supply, and any necessary peripherals. Begin by connecting the board to a monitor, keyboard, and mouse. Insert the microSD card with the operating system into the board’s slot and connect the power supply. Next, attach the M.2 NVMe SSD enclosure to the board using the provided connectors. Finally, ensure that all connections are secure before powering on the device.
It’s worth noting that proper cooling is essential to maintain optimal performance and prevent overheating. Consider adding heat sinks, fans, or other cooling solutions to ensure that the temperature remains within safe limits during operation. Additionally, organizing the components in a suitable case provides protection and reduces the risk of accidental damage.
Section 5: Installing and Configuring the Bitcoin Lightning Node Software
With the hardware components in place, the next step is to install and configure the software required to run your Bitcoin Lightning Node. Various software options are available, including Bitcoin Core and Umbrel. Bitcoin Core, the original software developed by the Bitcoin community, provides a full-node implementation of the Bitcoin protocol. Umbrel, on the other hand, offers an all-in-one solution that simplifies the setup process and provides a user-friendly interface.
The installation process for Bitcoin Core involves downloading the software and following the provided instructions. Visit the official Bitcoin Core website and
select the version compatible with your operating system. Once downloaded, run the installation wizard and follow the prompts to install the software. After installation, configure Bitcoin Core to run as a full node by specifying the data directory and network settings.
Umbrel simplifies the installation and configuration process by providing a pre-configured software package that includes the necessary components for running a Bitcoin Lightning Node. Start by visiting the Umbrel website and downloading the Umbrel OS image. Flash the image to the microSD card using a tool like BalenaEtcher or Raspberry Pi Imager. Once the microSD card is prepared, insert it into the board and power on the device. Umbrel OS will guide you through the initial setup process, including network configuration, wallet creation, and synchronization with the Bitcoin blockchain.
Section 6: Connecting to the Bitcoin and Lightning Networks
Now that your Bitcoin Lightning Node is up and running, it’s time to establish connections with the Bitcoin and Lightning Networks. To connect to the Bitcoin network, your node needs to download and synchronize the entire blockchain. This process may take some time, so patience is key.
Once your Bitcoin node is synchronized, you can proceed with setting up and configuring your Lightning node. This involves establishing payment channels with other Lightning nodes, enabling you to transact with them off-chain. It is advisable to open multiple channels to increase network connectivity and enhance the reach of your node.
To optimize your connection to the Bitcoin and Lightning Networks, it is important to actively monitor network performance and manage your channels. Regularly checking the status of your channels, ensuring sufficient liquidity, and maintaining a well-connected node contribute to a robust and efficient network participation.
Section 7. Running a node 24/7 Considerations
When it comes to running a Bitcoin full node and Lightning node 24/7, the processor speed plays a crucial role in determining the overall performance and responsiveness of the nodes. In this context, the Odroid M1 with its quad-core ARM Cortex-A55 processor has some notable advantages over the Raspberry Pi 4’s quad-core ARM Cortex-A72 processor.
The Cortex-A72 processor in the Raspberry Pi 4 is a higher-performance processor with a higher clock speed, making it capable of handling more demanding tasks. However, the Odroid M1’s Cortex-A55 processor, although not as powerful, is more power-efficient and generates less heat. This can be advantageous for continuous 24/7 operation, as it can contribute to a more stable and cooler running system.
Additionally, the Odroid M1 offers a unique advantage in terms of storage. It has a built-in NVMe SSD slot on the board, allowing for direct and faster storage access. This can result in improved data retrieval and faster performance for Bitcoin and Lightning node operations.
And actually speed test shows that Odroid M1 is a faster option because of the NVMe even if the initial Bitcoin full blockchain node syncing is not faster than just under 1 weeks time.
Source: https://pibenchmarks.com/user/RUNaBitcoinNode/
On average Odroid M1 board + NVMe SSD speed is 35%+ faster than Raspberry Pi 4 speed.
Table: Comparison of Raspberry Pi 4 and Odroid M1 for Running a Bitcoin Lightning Node
| Aspect | Raspberry Pi 4 | Odroid M1 |
|---|---|---|
| CPU | Quad-core ARM Cortex-A72 Faster but will get hot |
Quad-core ARM Cortex-A55 Slower but will stay cool |
| RAM | 2GB, 4GB, or 8GB | 4GB or 8GB |
| USB Ports | Multiple USB ports (USB 2.0 + USB 3.0) | 2X USB 2.0 ports & 2X USB 3.0 ports |
| Storage Expansion | MicroSD card slot | NVMe SSD M-key slot |
| PCIe Support | No | PCIe support |
| HDMI Output | Yes | Yes |
| GPIO Pins | Yes | Limited availability of GPIO pins |
| Operating System Compatibility | Raspberry Pi OS, Ubuntu Mate, Linux Mint, and more | Umbrel OS, Ubuntu Mate, Linux Mint, and more |
| Availability | Generally but very limited supply or high cost | Generally available |
| Price | Affordable if you can find one | Cost-effective alternative to Raspberry Pi 4 |
| Cooling Solutions | Heat sinks, fans, and other cooling options available | Heat sinks built into the board for GPU |
| Software Support | Extensive support and large community | Less Extensive support and community |
| Overall Performance | Good performance for Bitcoin Lightning Nodes | Excellent performance for Bitcoin Lightning Nodes |
| Pros & Cons | ✔️ Faster CPU architecture | ✔️ Lower CPU performance |
| ✔️ Unavailability of Raspberry Pi 4 | ✔️ Wide availability | |
| ✔️ Higher cost because of unavailability | ✔️ Cost-effective alternative | |
| ✔️ External SSD via USB 3.0 only (not stable) | ✔️ Faster & more stable | |
| ✔️ Extensive software support | ✔️ Less mainstream popularity | |
| ✔️ Support for various operating systems | ✔️ Limited software compatibility | |
| ✔️ Vast selection of accessories | ✔️ Only 2 cases available | |
| ✔️ Limited PCIe support | ✔️ NVMe SSD slot directly on the board | |
| ✔️ Requires additional cooling | ✔️ GPU cooling integrated | |
| ✔️ Cooling fan sound | ✔️ No Noise & not how | |
| ✔️ Not so relatable and efficient | ✔️Reliability and efficiency | |
| ✔️ Gipo pins available | ✔️ Limited availability of GPIO pins |
This comprehensive table provides a consolidated view of the differences, pros, and cons between Raspberry Pi 4 and Odroid M1 for running a Bitcoin Lightning Node. It highlights various aspects such as hardware specifications, software compatibility, availability, pricing, cooling options, and overall performance, allowing for a clearer comparison between the two options. Consider these factors in your decision-making process to select the board that best suits your requirements.
Conclusion
In conclusion, building a Bitcoin Lightning Node using Raspberry Pi or Odroid M1 offers an affordable and accessible opportunity to actively contribute to the Bitcoin network. By following the steps outlined in this comprehensive guide, you can establish a robust and efficient node that enables faster and more cost-effective transactions through the Lightning Network. Remember to select the appropriate hardware, choose a suitable operating system, and install and configure the necessary software. Embrace the decentralized future of finance and embark on your journey to become an active participant in the Bitcoin ecosystem.
Building a Bitcoin Lightning Node requires patience, attention to detail, and a continuous willingness to learn and adapt. By following the provided instructions and leveraging the power of Raspberry Pi or Odroid M1, you can play a vital role in promoting decentralization and revolutionizing the way we transact with Bitcoin. Happy building!
Leave a Reply